How to Build a Family Photo Backup Plan: Gather, Organize, and Check Your Copies
Gather family photos from scattered devices and accounts, organize them with useful context, make separate backup copies, and check that you can still open them.
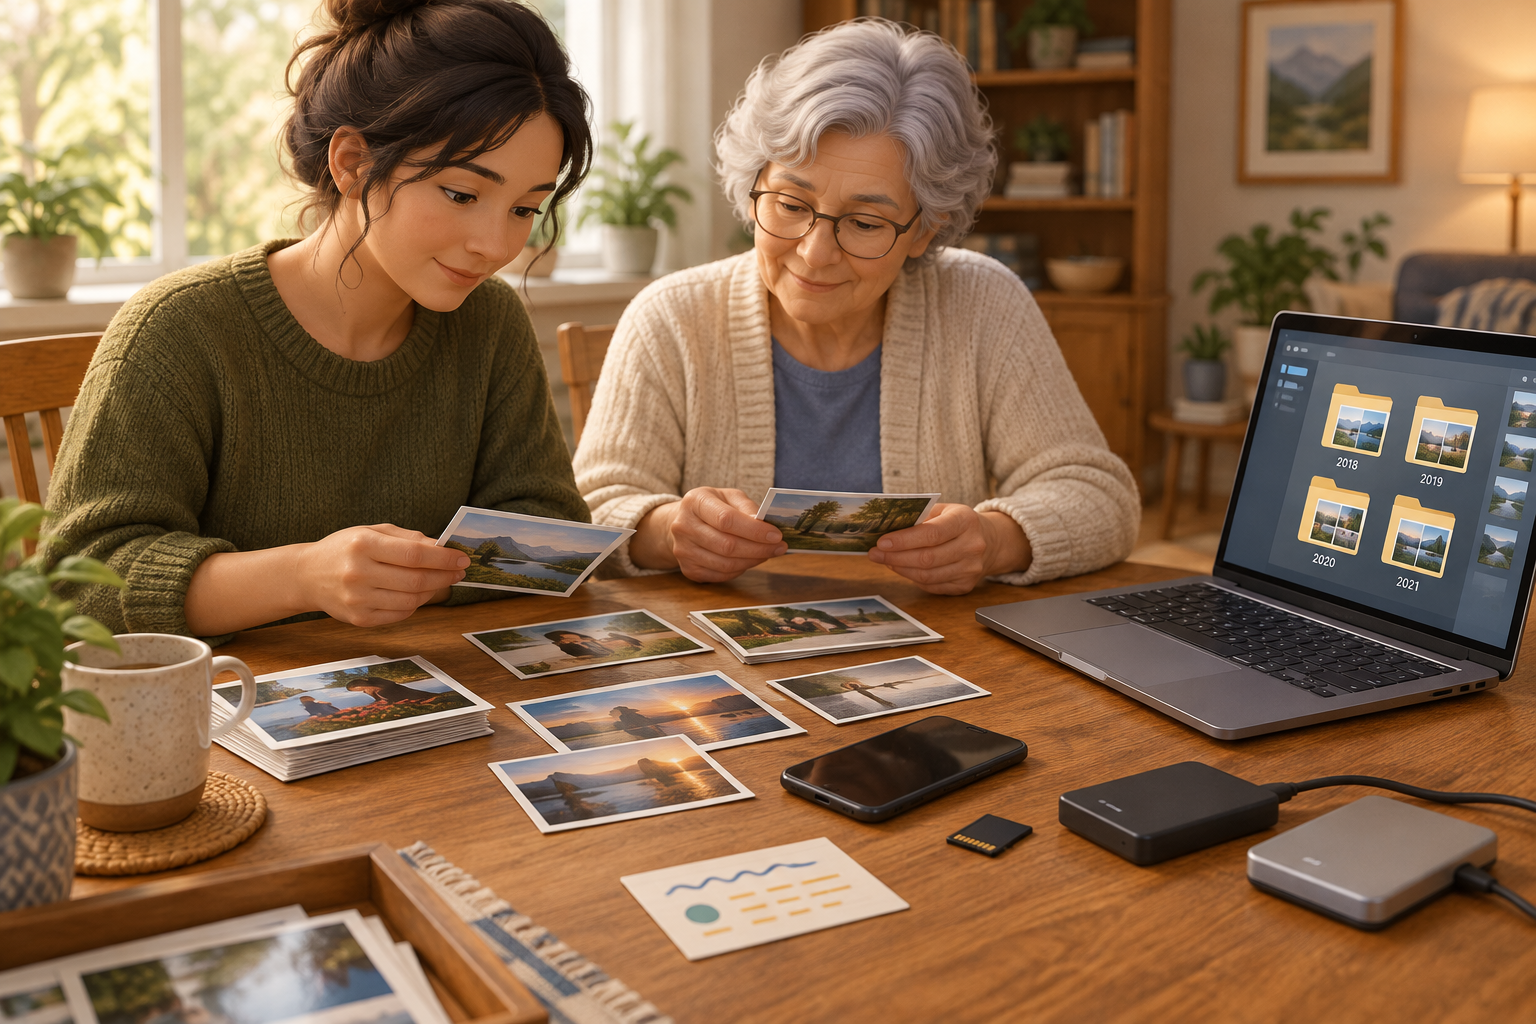
Start with the photos you would miss most
A manageable first batch helps you build a repeatable process before tackling a scattered collection.
A family photo backup plan is a simple process: find pictures wherever they are stored, organize them so they make sense later, make additional copies, and check that those copies open. Begin with a small, important group—perhaps a family milestone, an older relative’s portraits, or one recent trip—rather than trying to sort every image at once.
Choose a batch you can finish, such as one event, one year, or the photos on a single older phone. Your first goal is not perfect labels. It is to locate the files, put them in a clear structure, create separate copies, and verify that you can access them.
Before you begin, decide who in the family should be able to find the collection. A system that only makes sense to the person who created it may be hard for others to use later.
- Write down which batch you are starting with and where you expect to find it.
- Prioritize photos that would be difficult or impossible to replace.
- Keep a short list of sources you have checked and those you have not.
Inventory every place family photos may be stored
A source list helps prevent an overlooked device or account from becoming a missing piece of the collection.
List the places where family pictures may be hiding: current and older phones, tablets, computers, camera memory cards, external drives, USB storage, discs, and online photo accounts. Ask relatives whether they have separate devices or collections. Your inventory can be a basic note with the source, its owner, and whether you have checked it.
For each source, note whether it works and whether you believe its photos exist somewhere else. Do not erase, reset, trade in, or repurpose a device just because you have begun copying from it. First confirm that the files you need are in your organized collection and in another copy.
The Library of Congress offers personal digital-archiving resources that include guidance on scanning collections and digital storage media. These resources can help you think through older or unfamiliar media as you plan your process.
- Phones and tablets: check the camera library and the photo accounts used by each owner.
- Computers: look in photo libraries, picture folders, desktops, and folders used for imports.
- Cameras and storage: list memory cards, external drives, USB devices, and discs.
- Online accounts: note who controls each account and how the family could regain access.
Gather files carefully and keep versions until you can compare them
Copying before sorting gives you room to compare files without risking the only version.
Bring one batch into a temporary folder on a computer or another location you can manage. Keep sources separate at first, with labels such as “Phone – Alex” or “Camera card – 2018.” If a file looks incomplete or out of place, the source label can help you trace it.
When several versions of a picture exist, compare them before deleting anything. Keep the largest or clearest full-resolution version when it is the same image, but do not assume a smaller file is disposable: it could be a crop, an edited version, or the only copy with useful context. If you are unsure, retain both until the main collection and its backups have been checked.
Avoid editing or renaming the only copy during this stage. Work from copies where possible. If a card or drive containing unique photos appears to be failing, avoid repeated experiments that could make the situation harder to assess; consider getting qualified help before attempting recovery.
Create folders that will make sense later
A consistent folder structure lets relatives browse the collection without depending on a particular app or one person’s memory.
A practical starting structure is year first, followed by an event or place when it helps. For example, use “2019 / 2019-07 Family reunion” or “2022 / 2022-11 Grandma’s birthday.” Using a consistent date format can make folders easier to scan and sort.
If you know only the approximate year, say so rather than inventing a precise date. A folder such as “1980s / Summer picnic / date unknown” is more useful than a confident but potentially wrong label. Choose names that relatives who did not create the folders can understand.
If you crop, retouch, or otherwise change an image, save the edited version separately when practical so the unedited file remains available. A simple folder structure should also be understandable outside the photo app used to create it.
- Example: “2021 / 2021-06 Beach weekend.”
- For uncertain details: “1980s / Summer picnic / date unknown.”
- Use short, descriptive names and apply the same pattern across batches.
Add the story: who, what, where, and when
A little identifying context can keep meaningful photos from becoming anonymous images.
A picture that is obvious to you today may be difficult to identify later. When you know the details, record who is pictured, what is happening, where the photo was taken, and when. The National Archives recommends adding this basic information to family photographs.
You do not need to caption every image. Start with group portraits, unfamiliar locations, older relatives, and gatherings where names or context might otherwise be lost. Ask family members while they can help. If you are uncertain, mark the detail as a possibility—such as “possibly Aunt Ruth” or “around 1975”—instead of presenting a guess as fact.
Keep the context connected to the images. Depending on your setup, you might use descriptive file names, an index, or information in photo-management software. Check that the essential details remain understandable if you view the files outside that software.
- For a group photo, list names from left to right if that will help identify people.
- Use a town, venue, or landmark rather than a vague label when you know it.
- Mark approximate dates and uncertain names clearly.
Make independent copies of the organized collection
Plan for copies to be stored in different places, not merely displayed through the same device or account.
The National Archives recommends a 3-2-1 backup approach: three copies, on two kinds of media, with one copy off-site. In practical terms, keep the organized collection plus two additional copies, use more than one type of storage, and keep one copy away from the main collection. This is a planning framework, not a guarantee that files will never be lost.
For example, a household could keep its organized collection on a computer, make another copy on separate external storage, and keep a third copy off-site or in an online backup account. The right arrangement is one your family can maintain and access. Record where each copy is and who can reach it.
Before relying on an online service, check its current information about account access, recovery, storage, and deletion. Consider whether it gives you a separate copy or simply another way to view the same collection. Avoid assuming that any one storage method will preserve files indefinitely.
- Keep one organized collection as the working copy.
- Make additional copies on separate destinations; where practical, use different kinds of media.
- Keep one copy away from the primary location.
- Record where the copies are and how the family can access them.
| Destination | Possible role | What to check |
|---|---|---|
| Computer or main photo library | Organized working collection | Can you find the folders and open sample files? |
| Separate external storage | Additional copy | Is it stored apart from the main device, and can you update and check it? |
| Off-site location or online storage | Copy away from the main collection | Can the family access it, and have you checked account recovery and deletion information? |
Scan prints carefully and keep the originals
Digitizing can make prints easier to share, but a scan does not replace the physical photograph.
If important pictures exist only as prints, include digitizing them in your plan. Choose a method suited to the item’s condition and handle photographs gently. The National Archives cautions against using automatic-feed scanners on fragile, weak, bent, or valuable papers. Avoid a scanning method that could damage a delicate item.
Keep original photographs after scanning them. The National Archives notes that digital files can also be lost, so a scan is not a reason to discard the print. If you are unsure how to handle a fragile or valuable photograph, consult preservation guidance before attempting to scan it.
The Library of Congress’s personal digital-archiving resources include guidance on scanning personal collections. The specific approach depends on the item and equipment, so use guidance suited to what you are digitizing.
Check your copies and make maintenance routine
A backup plan is not complete until you have confirmed that the files are present and usable.
After copying a batch, open sample files from each destination—not only from the original phone or computer. Check images from different dates and confirm that the folders and captions make sense. If a file is missing or will not open, resolve that before removing anything from its original source.
When you add another meaningful group of photos, use the same folder structure, add context where needed, update your copies, and confirm that the copying process completed. Periodically check that stored drives and off-site files remain accessible. Choose a reminder schedule that fits your household; a modest routine you follow is more practical than an ambitious one you abandon.
Keep a short map of the collection: which location is the main copy, where the other copies are, and who knows how to access them. Then repeat the process one batch at a time.
- Choose one important batch and list every place it may be stored.
- Copy the files without deleting originals, keeping sources distinct at first.
- Organize the batch into clear folders and retain uncertain versions until you can compare them.
- Add known names, places, dates, and event details; label guesses as uncertain.
- Create additional copies, including one stored away from the primary collection.
- Open sample files from every copy, record where the copies are, and set a reminder to check them again.
Frequently asked questions
Is an online photo account enough as a backup?
Not automatically. Check whether it gives you a separate copy, whether your family can regain access, and what its current information says about storage and deletion. Another destination can make the plan less dependent on one account or device.
What does the 3-2-1 backup approach mean for family photos?
It means keeping three copies in total, on two kinds of media, with one copy off-site. The National Archives recommends this as a backup framework; it does not guarantee that files can never be lost.
Should I delete duplicate photos after organizing them?
Only after confirming that they are true duplicates and that the organized collection and its copies are verified. Similar files may differ in quality, crop, editing, or context. Keep versions you are unsure about until you can compare them.
Should I keep printed photos after scanning them?
Yes. The National Archives advises keeping original photographs after digitizing them, since digital files can also be lost. Handle fragile or valuable prints carefully, and avoid automatic-feed scanners for items that could be damaged.
Sources & further reading
Explore the original sources behind this article. Our editorial perspective is separate from the organizations we reference.