Before You Buy Lime or Fertilizer: How to Soil-Test Your Lawn or Garden
Collect a representative soil sample, send it according to your lab’s instructions, and use the results to decide whether your lawn or garden needs lime or fertilizer.
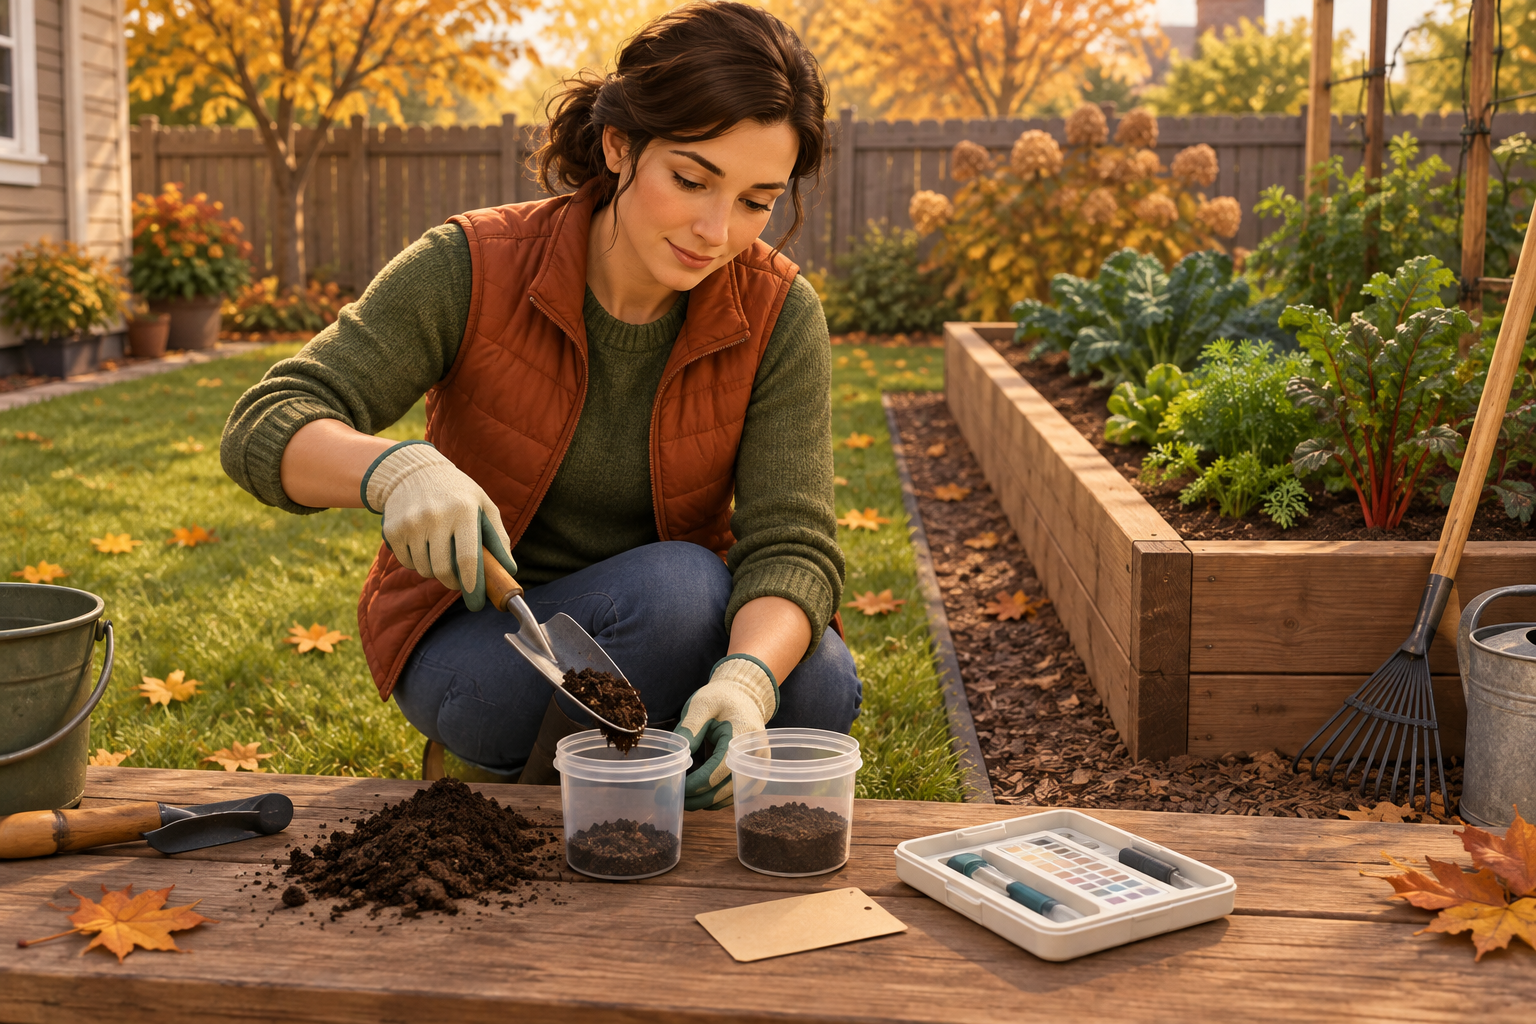
Test your soil before buying fall amendments
A soil test helps replace guesswork with recommendations tied to the sampled area.
Before buying lime or fertilizer for a lawn or garden, collect a representative soil sample and submit it to a soil-testing lab. Use the report, together with local guidance, to decide whether an amendment is appropriate and how to apply any recommendation. A test may show that you need less than you expected—or no amendment at all.
Fall after harvest is a suitable time to test garden soil, and spring before planting can also work. Testing in fall can give you time to review results and plan before the next growing season. It is not a special fall-only procedure: the right time also depends on your schedule and the lab’s instructions.
Choose the areas to test separately
A sample is useful only if it represents the place and type of planting it is meant to describe.
Treat a lawn and a vegetable garden as separate sampling areas: they may have different histories, management, and needs. Likewise, sample a distinct problem patch separately from healthier ground if you want to compare them. Mixing these areas together can blur differences and make it harder to use the result for a specific decision.
Within each area, aim for a reasonably uniform patch—for example, a single garden bed or a lawn section managed in the same way. If one part has had a different treatment or is visibly unlike the rest, consider making it its own sample. Label each sample with a plain description such as “north lawn” or “tomato bed,” so you can match the report to the right place.
Check the soil-testing lab’s instructions first
The lab’s directions should determine the collection and packaging details for your sample.
Find a soil-testing lab that accepts samples from home lawns or gardens. Your state or local cooperative extension may explain available options, and some labs provide a kit or submission form. Before digging, check what the lab tests, how much soil it needs, what container or bag to use, and how it wants the sample labeled and submitted.
Do not assume every lab uses the same sampling depth, sample quantity, or packaging. Extension guidance can be a useful example, but the procedure for the lab you choose takes priority. If you want information beyond routine nutrient or pH guidance—for example, a concern about possible contaminants—ask the lab specifically whether it offers the relevant test. A standard soil test should not be assumed to detect every contaminant.
Collect a representative soil sample
Several evenly distributed subsamples usually provide a more representative picture than one scoop from a convenient spot.
For each area you are testing, collect multiple small subsamples from different points across it, keeping the depth consistent. Avoid choosing only the best-looking or worst-looking spots unless you are deliberately testing a problem area on its own. Do not include surface debris, and avoid unusual locations such as places where material was recently piled or spilled if they are not representative of the area.
One extension service offers a practical example for home lawns and gardens up to 10,000 square feet: ten subsamples. Its suggested depths are 4–6 inches for lawns and 6–10 inches for tilled garden beds. These are Illinois Extension’s guidelines, not universal requirements; follow the directions from your selected lab, especially if they specify different depths or a different number of subsamples.
Put subsamples from one area into a clean bucket and mix them thoroughly. Do not combine soil from the lawn, vegetable bed, or separate problem patch in the same bucket. The lab will tell you how much of the mixed sample to submit.
| Area to test | How to handle it | Example label |
|---|---|---|
| Main lawn | Collect and combine subsamples from the same consistently managed lawn area. | Front lawn |
| Vegetable garden | Keep it separate from lawn soil and other garden areas with different management. | Raised vegetable bed |
| Distinct problem patch | Test separately if you want to compare it with healthier nearby soil. | Bare patch by fence |
Package and submit each sample clearly
Good labeling prevents a useful test result from being assigned to the wrong bed or lawn section.
Transfer the mixed soil into the bag or container specified by the lab. Complete its form with the requested information, including the sample label and intended use if asked. If you are sending multiple samples, make sure each container and form can be matched without guesswork.
Follow the lab’s instructions for delivery or mailing and any preparation it requires. Keep a note of where each sample came from and when you collected it. That small record makes it easier to compare a result with the actual site and to keep future tests consistent.
Read the report before choosing lime or fertilizer
A recommendation is tied to the test, the sampled area, and what you plan to grow there.
When the results arrive, first confirm that the report identifies the right sample and intended use. Review the lab’s explanation of its measurements and recommendations, then check local extension guidance if you are unsure how to apply them. Soil conditions and recommendations differ by location and intended plants, so a product rate or amendment plan from another garden is not automatically suitable for yours.
If the report recommends an amendment, follow the report’s stated product or nutrient guidance and application instructions. Do not substitute a different product or calculate an amount from a generic online rule unless the lab or local guidance supports that choice. If the result is unclear or seems inconsistent with the site, ask the lab or extension service how to interpret it before applying anything.
A soil test informs a decision; it does not by itself diagnose every reason a plant is struggling. Watering, drainage, light, pests, disease, and other conditions can also affect growth. If a test does not explain a problem, investigate those factors rather than repeatedly adding fertilizer.
A simple fall soil-testing checklist
A short repeatable process can help you move from sampling to a sensible amendment decision.
Use this sequence whether you are preparing a lawn, a garden bed, or both. The key is to keep each sample connected to one clearly defined area and let the lab’s process guide collection and submission.
- Choose the area you want to understand and separate areas managed differently.
- Select a lab that accepts home lawn or garden samples; read its current directions before collecting.
- Collect evenly distributed subsamples at the lab’s specified depth, keeping each area’s soil separate.
- Mix each area’s subsamples in a clean bucket, then submit the amount and container the lab requests.
- Label samples clearly and record where each came from.
- Review the report and local guidance before deciding whether to buy or apply lime or fertilizer.
What to do next
Once you have the report, make the smallest well-supported decision for each sampled area.
If you have not chosen a lab, start with your state or local extension resources and confirm which testing options cover home lawns and gardens. If you already have a kit, use its collection directions rather than relying on a generic depth chart. After the results arrive, keep the report with your garden notes so you can refer back to the sampled area and recommendation next season.
The useful outcome is not necessarily an amendment purchase. It is a clearer basis for deciding what—if anything—to change. If your report raises questions about a specific site or plant, contact the lab or local extension service with the sample label and intended use in hand.
Frequently asked questions
Should I test garden soil in fall or wait until spring?
Fall after harvest is a suitable time, and spring before planting is another option. Choose a time that lets you collect and submit the sample according to the lab’s instructions and review the results before making an amendment decision.
Can I put lawn and garden soil in the same sample?
Usually, keep them separate because they are different managed areas and may have different needs. Also consider separating a visibly troubled patch if you want its result compared with healthier soil.
How deep should I take a soil sample?
Use the depth specified by your testing lab. As one example, Illinois Extension suggests 4–6 inches for lawns and 6–10 inches for tilled garden beds, but those measurements are not universal.
Will a regular soil test tell me whether my soil contains contaminants?
Do not assume so. Ask the lab directly whether it offers a test for the contaminant you are concerned about; routine nutrient testing and contaminant testing are not interchangeable.
Sources & further reading
Explore the original sources behind this article. Our editorial perspective is separate from the organizations we reference.
- [S1] Fall Is the Perfect Time for Soil Samplingextension.psu.edu
- [S2] Soil testing for lawns and gardens | UMN Extensionextension.umn.edu
- [S3] Collecting Soil Samples | Soil | Illinois Extension | Illinoisextension.illinois.edu