How to Save Tomato and Bean Seeds for Next Year’s Garden
Check whether your tomato or bean plants are suitable for seed saving, prepare each crop’s seeds the right way, and store labeled batches for a germination check next spring.
Check whether the plants are suitable for seed saving
The variety and pollination history affect how predictable the next generation may be.
Before collecting seed, check the seed packet or plant label for the variety name and whether it is described as open-pollinated or hybrid. Open-pollinated varieties are generally the better choice when you hope to grow plants with traits similar to the parent. Seeds from a hybrid plant may sprout, but the offspring may differ in traits such as fruit shape, color, or growth habit.
If you no longer have the packet, look up the variety name or ask the seller whether it is open-pollinated. If you cannot identify it, you can still save a small batch as an experiment, but avoid relying on it for a predictable repeat. Oregon State University Extension explains why open-pollinated varieties are generally more suitable for seed saving and cautions that hybrid offspring may not retain the parent plant’s traits.
Pollination can also affect what grows from saved seed. Pollen from another variety of the same crop may contribute to seed with different traits. If you do not know what varieties were growing nearby, treat the batch as a trial rather than a guaranteed copy.
- A known open-pollinated variety is the more predictable starting point.
- A hybrid or unknown variety may produce offspring with different traits.
- Choose seed from a healthy plant whose growth and harvest you would want again.
Choose healthy plants and wait for mature seed
Tomatoes and beans reach the right collection stage in different ways.
Select a healthy plant with characteristics you value, such as reliable growth or appealing fruit. A small batch is enough to try: one or two ripe tomatoes or a handful of mature bean pods can provide seeds for next season.
Wait for a tomato to become fully ripe before collecting it for seed. Leave bean pods on the plant until they are dry and papery. Tomatoes are wet-seeded crops, while beans are dry-seeded crops, so their preparation differs. University of Minnesota Extension describes these crop-specific harvest approaches.
If wet weather or garden cleanup means you bring mature bean pods indoors before they are fully dry, spread them in a dry, airy place to finish drying before shelling. Keep separate varieties or collection batches apart from the start; it is easier to label as you go than to identify mixed seeds later.
How to save tomato seeds: ferment, rinse, and dry
Fermentation helps separate the seeds from the gel surrounding them inside ripe fruit.
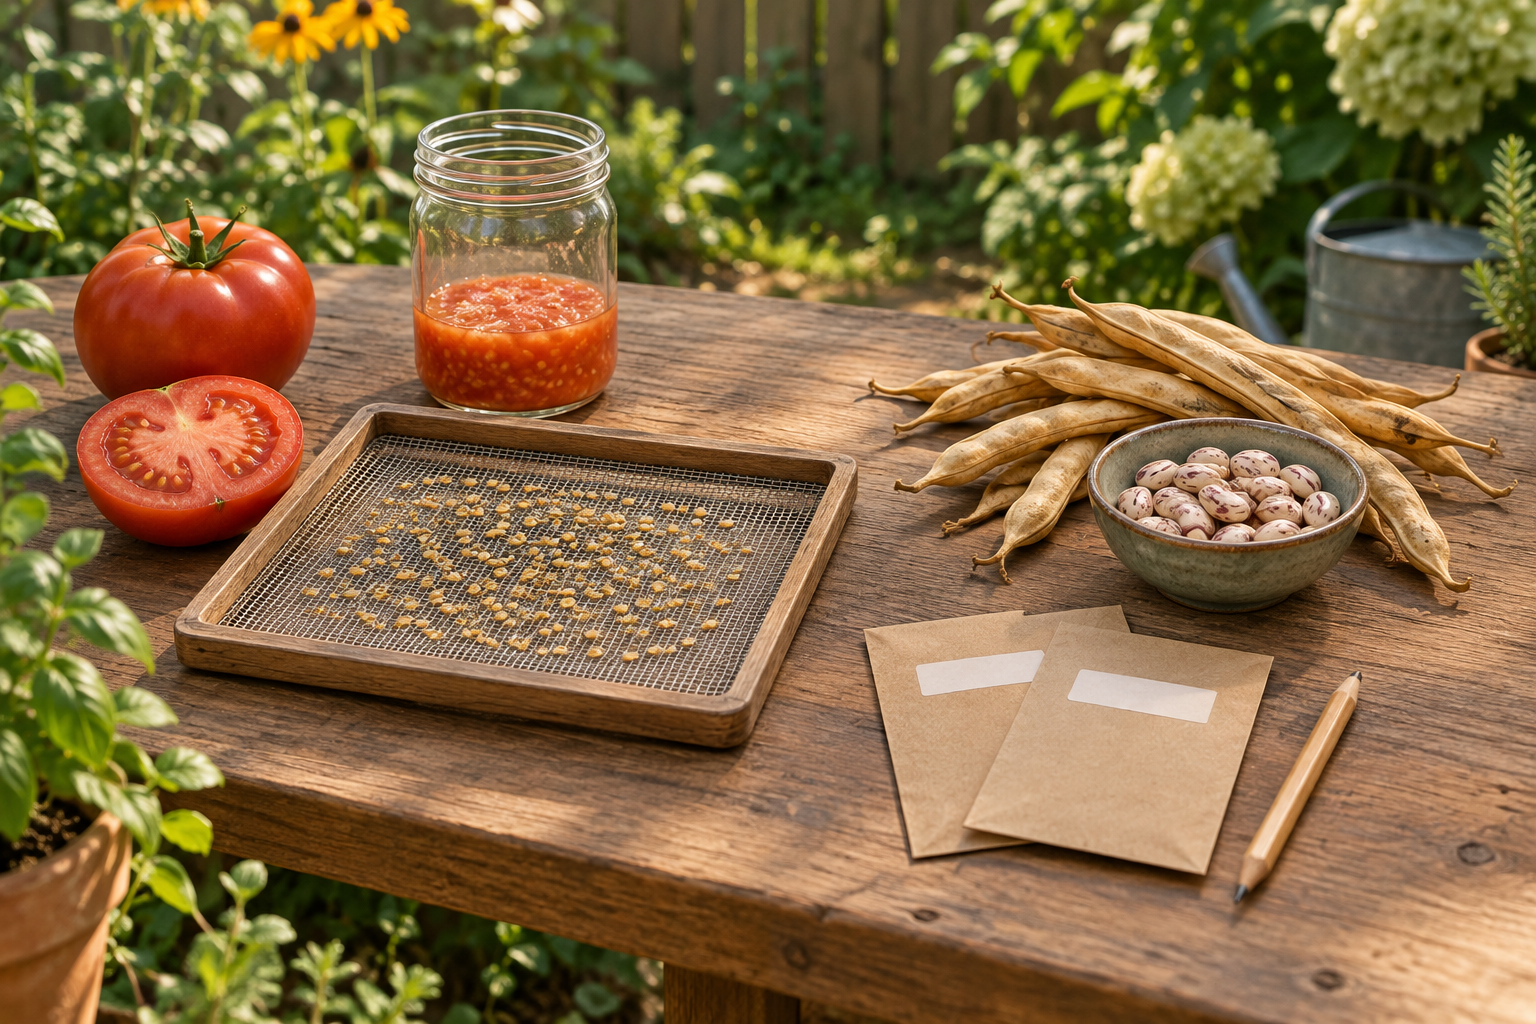
Cut a fully ripe tomato and scoop its seeds and surrounding gel into a clean, labeled glass or other nonreactive container. If you are saving more than one variety, use separate containers and label each immediately. Add a little water only if needed to make the seed-and-gel mixture easy to stir; it should not be diluted into a large volume.
Cover the container loosely so air can circulate, then leave it at room temperature, out of direct sun, for about two to three days. Stir once a day. The mixture may develop bubbles or a surface film as it ferments. Check it daily and move to rinsing when the gel has broken down; do not leave it sitting for an extended period. The Organic Seed Alliance’s seed-saving guide describes fermentation as part of preparing tomato seed.
Pour the mixture into a fine sieve and rinse the seeds under running water, gently working away any remaining pulp or gel. Spread the cleaned seeds in a single layer on a labeled screen, plate, or other surface that allows air circulation. Keep them out of direct heat and separate clumps as they dry. Drying time varies with room conditions, so do not seal them merely because a certain number of days has passed. Wait until they feel fully dry rather than damp or tacky.
- Use ripe fruit and keep the batch identified throughout the process.
- Ferment the seed-and-gel mixture loosely covered for about two to three days, stirring daily and checking it.
- Rinse away the gel, then air-dry the seeds completely before storage.
How to save bean seeds from dry pods
Let the pods mature and dry, then shell the seeds and check that they are ready to store.
Leave bean pods on the plant until they are dry and papery. The beans inside should feel firm, not soft. Open the dry pods and remove the seeds, keeping each variety or batch separate.
If the pods are mature but still damp when you need to bring them indoors, spread them out in a dry, airy place to finish drying. Remove seeds that are moldy, damaged, or notably shriveled. If you are uncertain whether a seed is dry, give it more time rather than sealing it away. Beans are dry-seeded crops, unlike tomatoes, which are harvested as ripe fruit and cleaned while wet.
University of Minnesota Extension describes harvesting bean pods when dry. The Organic Seed Alliance guide also distinguishes dry-seeded crops such as beans from wet-seeded crops such as tomatoes.
Tomato and bean seed saving at a glance
Use the crop’s maturity and preparation method as a quick checklist.
Both crops need to be thoroughly dry before storage, but they reach that point through different routes. Tomatoes are collected from ripe fruit, then the seeds are fermented, rinsed, and dried. Beans mature in their pods, which dry before shelling. Following the correct route reduces the chance of storing seeds that still carry excess moisture.
| Crop | When to collect | Preparation | Before storage |
|---|---|---|---|
| Tomato | When the fruit is fully ripe | Ferment the seed-and-gel mixture, then rinse | Air-dry the cleaned seeds completely |
| Bean | When pods are dry, or mature enough to finish drying indoors | Shell the dry pods and sort the seeds | Finish drying indoors if there is any doubt about moisture |
Label and store each seed batch
A useful label helps you identify the seed and assess it when planting time returns.
Record the crop, variety if known, and collection date. You can add a brief note such as “saved from the earliest ripe tomato” or “bean pods finished drying indoors.” If you save separate batches, label them as you go rather than trusting yourself to remember which is which.
Once the seeds are thoroughly dry, put them in a moisture-resistant container and store it somewhere cool and dry. A sealed container is useful only when the seeds are dry; sealing damp seeds can trap moisture. Keep the container away from heat and damp areas. Storage conditions and the seed’s condition at harvest affect how well it keeps, so these steps improve the odds of success but do not guarantee viability.
Guidance differs on how long vegetable seeds may remain usable: University of Minnesota Extension recommends using saved vegetable seed within a year, while Organic Seed Alliance describes longer storage possibilities for many major vegetable crops under good conditions. Do not treat either figure as a guarantee for every home-saved batch. Label the collection date and test germination before relying on older seed.
Test germination before planting next spring
A small sample can guide how much to sow and whether you should supplement with fresh seed.
Before planting, test a small sample rather than assuming the whole batch is viable. Place several seeds between damp paper towels, keep them in a warm place, and check regularly. Keep the towels moist but not waterlogged. For a simple home check, you might test ten seeds and count how many sprout. That gives a rough indication, not a guarantee of how every seed will perform in garden soil.
If only some seeds sprout, you can choose to sow more than usual or supplement with fresh seed. If none sprout, do not rely on that batch when you need a dependable planting. Keep the test separate from the stored seeds and write the result beside the batch’s label information.
- Take a small sample from the labeled batch.
- Place the seeds in a damp paper towel and keep them warm.
- Check periodically and keep the towel moist, not saturated.
- Count the sprouted seeds and use the result to plan how much to sow.
Frequently asked questions
Can I save seeds from hybrid tomatoes or beans?
You can collect them, but the offspring may not retain the parent plant’s traits. A known open-pollinated variety is generally a better choice when you want a more predictable repeat. Treat seed from an unknown plant as an experiment.
How long should I ferment tomato seeds?
A practical small-batch method is to leave the seed-and-gel mixture loosely covered at room temperature for about two to three days, stirring daily and checking that the gel is breaking down. Then rinse and dry the seeds. Avoid leaving the mixture unattended for an extended period.
How long will saved tomato or bean seeds last?
There is no single dependable lifespan for every home-saved batch. Crop, seed maturity, and storage conditions matter, and published guidance differs. Label the collection date and test germination before relying on older seed.
Can I store saved seeds in a sealed jar?
Yes, if they are thoroughly dry first. Use a moisture-resistant container and keep it in a cool, dry place. Sealing seeds while damp can trap moisture.
Sources & further reading
Explore the original sources behind this article. Our editorial perspective is separate from the organizations we reference.
- [S1] Save seeds now for next year’s garden | OSU Extension Serviceextension.oregonstate.edu
- [S2] A Seed Saving Guide for Gardeners and Farmersseedalliance.org
- [S3] Saving vegetable seeds | UMN Extensionextension.umn.edu